Comms
The Comms System
The comms system in TIMS is designed to be the main place for job related communications to be recorded in TIMS. This allows people to easily locate information related to the job, have discussions about particular items, share attachments and record notes.
The layout of Comms is broken into two main sections, the list of all Comms on this job to the left, and the body of the selected Comm on the right.
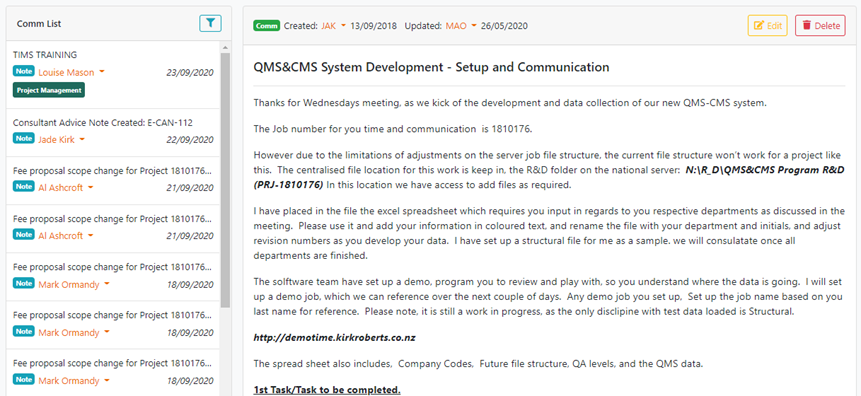
You can select a specific comm by clicking it's entry in the "Comm List" on the left.
Searching Comms
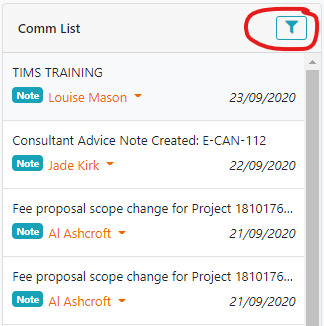
To search for a comm on a job first click the "Filter" button above the Comm List. This will cause the sidebar to display the filters rather than the list.
Once you have the comm filters open you can filter by the following properties:
- Term - Matches any text in the comm.
- Primary Discipline - Will only show comms that have the selected primary discipline.
- Primary Category - Will only show comms that are in the selected category.
- Tags - Will only show comms that are tagged with all of the selected tags.
Once you have made your selection click the "Apply Filters" button. You will be taken back to the list of comms with only those matching your filters shown.
Viewing a Comm
To view a comm simply click on a comm in the sidebar to open it. The selected comm will now be visible on the right-hand side, replacing any comm that was previously selected.
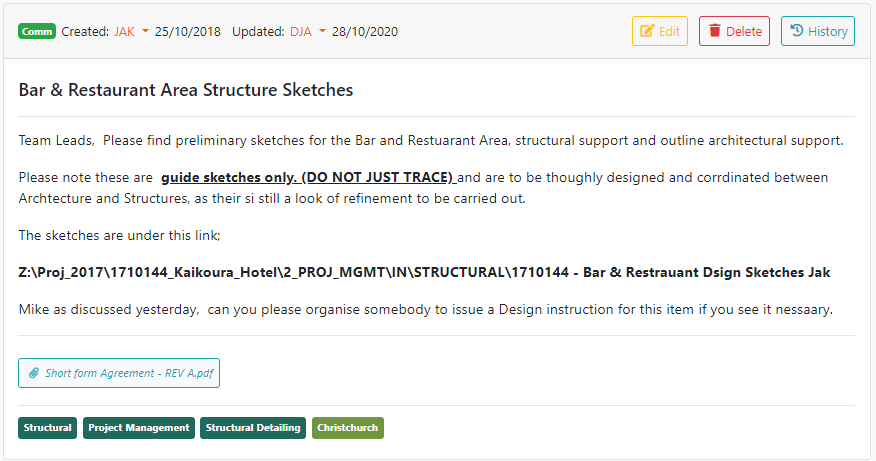
When viewing the comm you will be able to see the content, attachments, tags and replies if there are any.
You will also be able to see the email history for this comm from the point it was created and including any edits that changed the distribution by clicking on the "History" button.
To edit the comm click the "Edit" button. See the section below "Creating a Comm" for an explanation of this process.
Creating a Comm
To create a new comm click the "Create Comm" button in the bottom right of the screen:
This will replace the currently selected comm with a form to create a new comm:
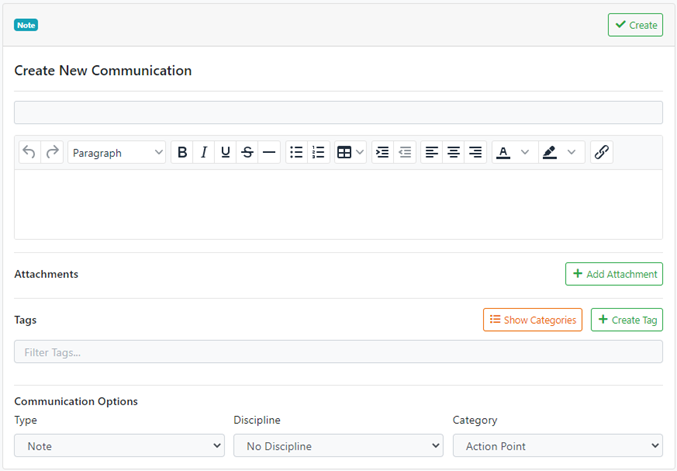
Here you can enter the title and body of the comm, as well as upload any attachments and include any tags that categorize the comm.
You can also set the communication options. These will control who the comm is sent to.
There are two comm types:
- Note - Note type comms will not be emailed.
- Comm - Comm type comms can be emailed to the people included in the distribution list.
When you select the "Comm" type the "Distribution Options" region of the form will be displayed:
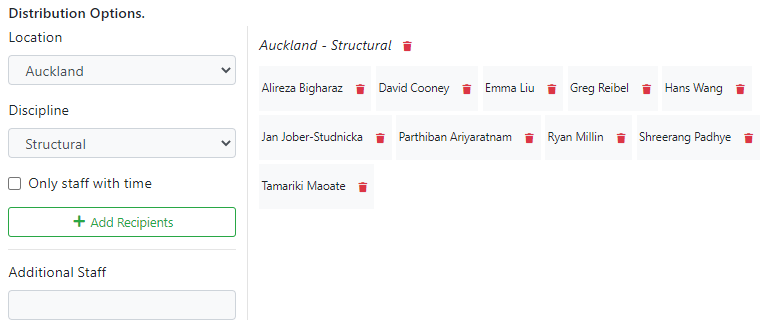
On the left of this section are the selections you can make to add staff to the distribution list.
On the right is the final distribution list - the people this comm will be sent to.
In the example above the Location "Auckland" and the discipline "Structural" were selected, then "Add Recipients" was clicked, adding all people in the Auckland Structural discipline to the distribution list.
If you only want to include staff who have time against the jobcheck the "Only staff with time" checkbox. When "Add Recipients" is clicked with this selected only the people who have time against this job will be added.
You can also add additional staff by typing their name in the "Additional Staff" autocomplete and selecting them individually.
In the distribution list section to the right you can chose to remove entire selections such as "Auckland Structural" or individual people.
When you are done creating the comm and setting up the distribution list you can simply save the comm and it will be sent to any people on the distribution list.